Discover the best settings for capturing everything from bustling cityscapes to stellar night skies.
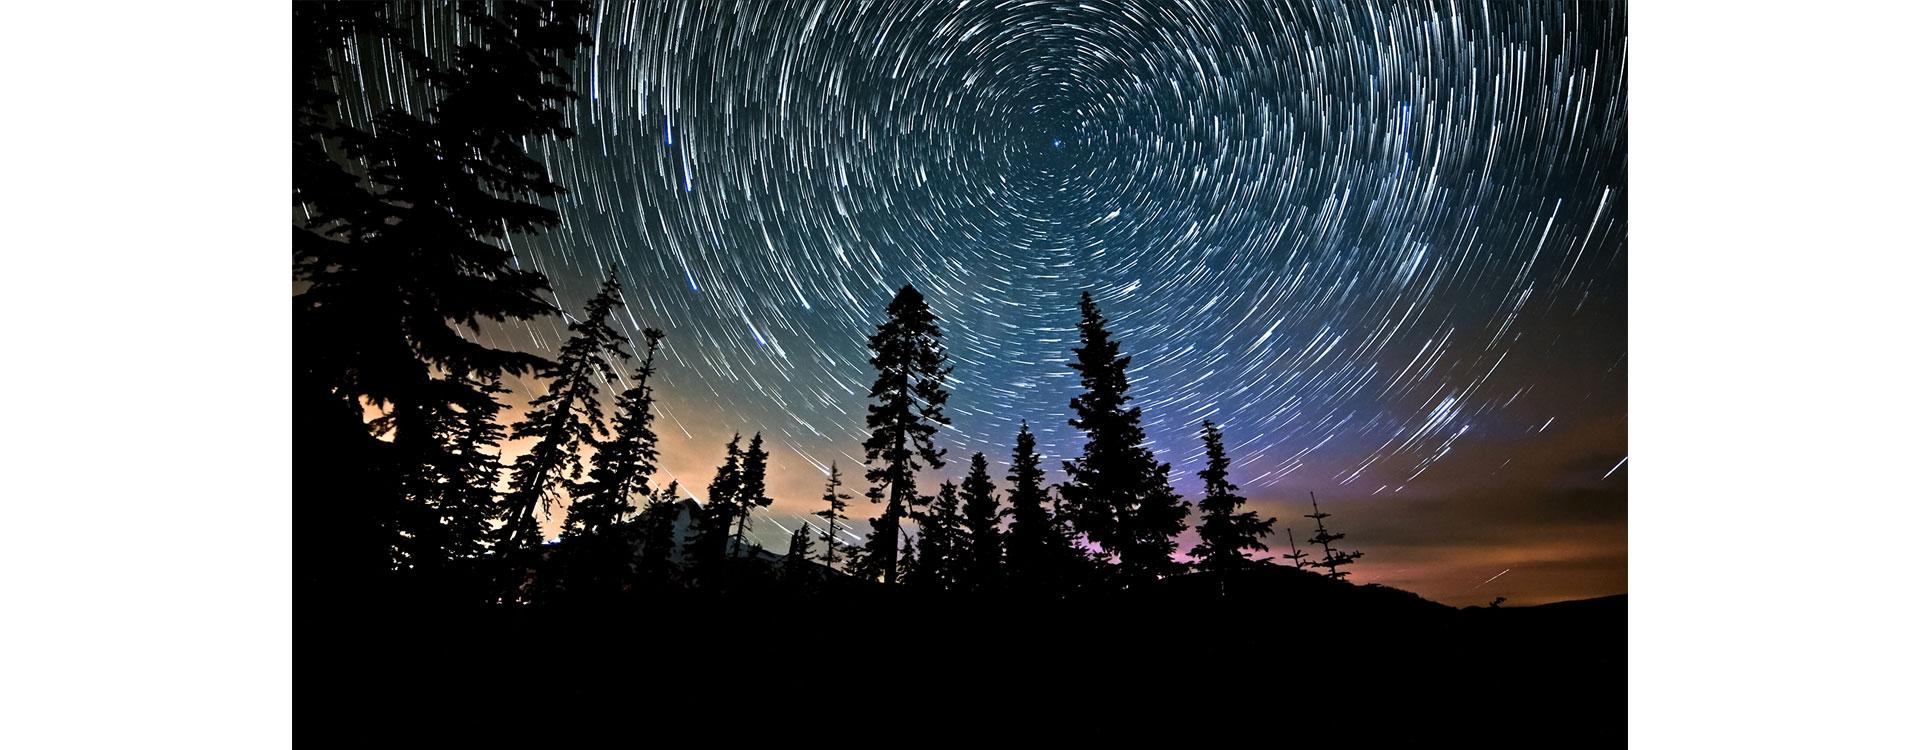
Time-lapse photography is more than just a technique – it's an art form that captures the passage of time in a way that mesmerizes and inspires. By condensing hours, days, or even months into a few captivating seconds, time-lapse photography allows us to witness the world in a new light, revealing patterns and movements often invisible to the naked eye.
Mastering time-lapse photography requires a deep understanding of both the technical aspects and the creative possibilities this technique offers. Here, we walk you through Canon’s approach with essential tools, tips, and insights you need to elevate your time-lapse photography to a professional level.
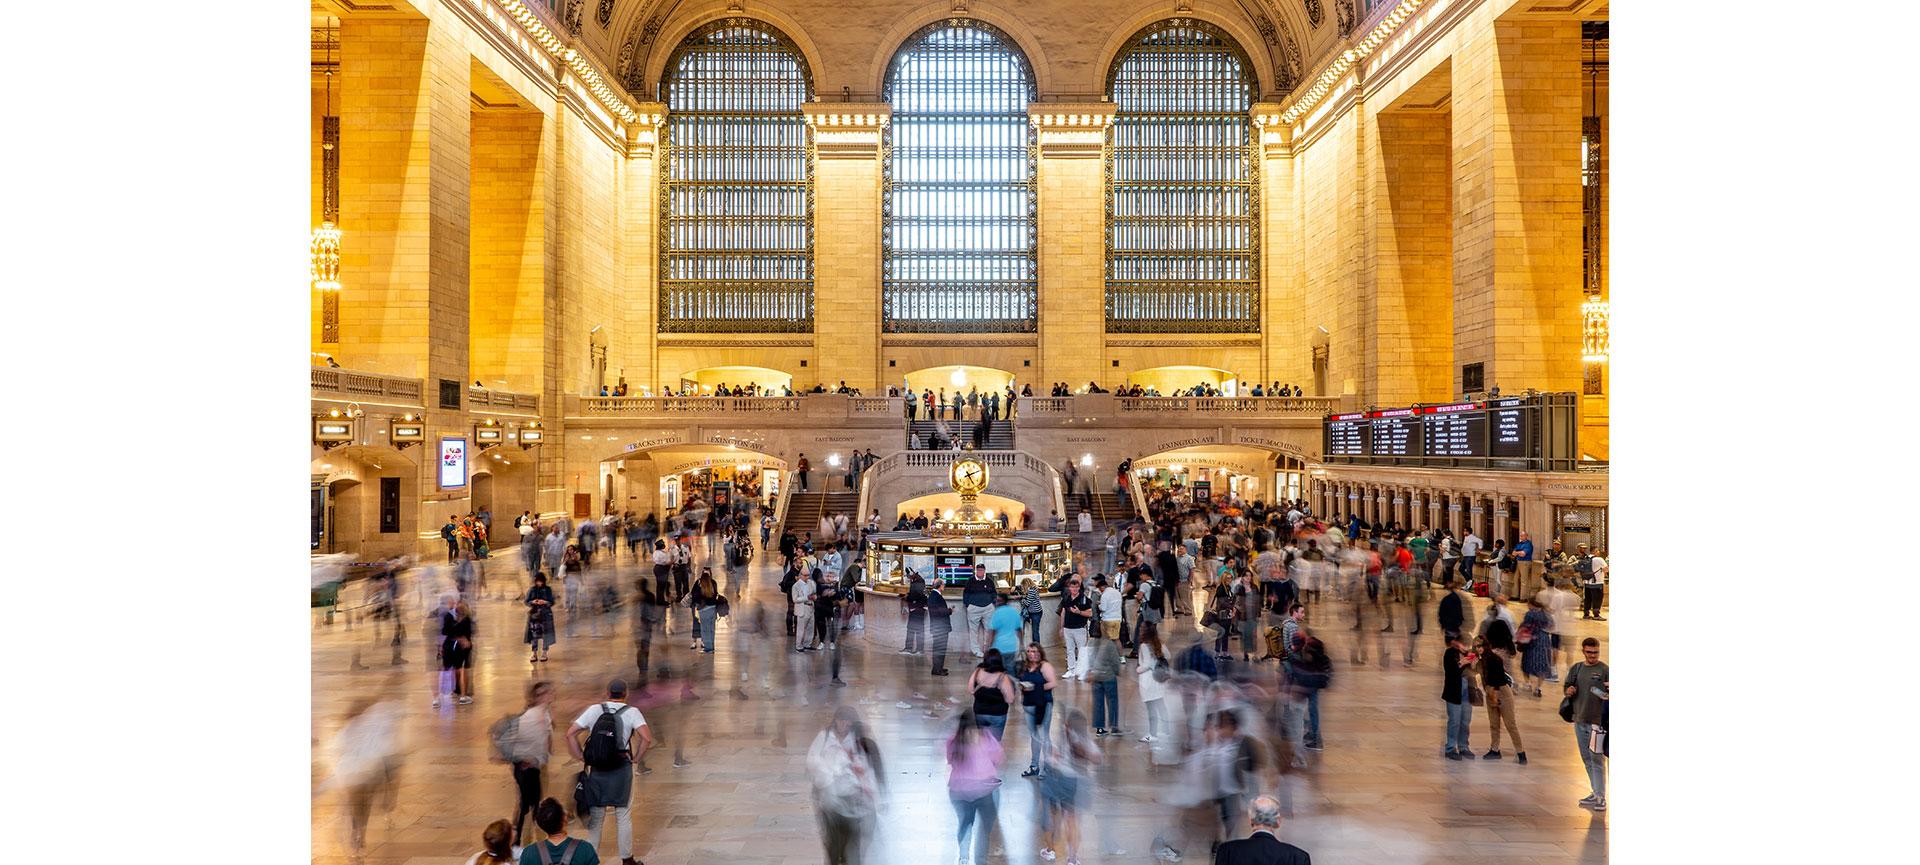
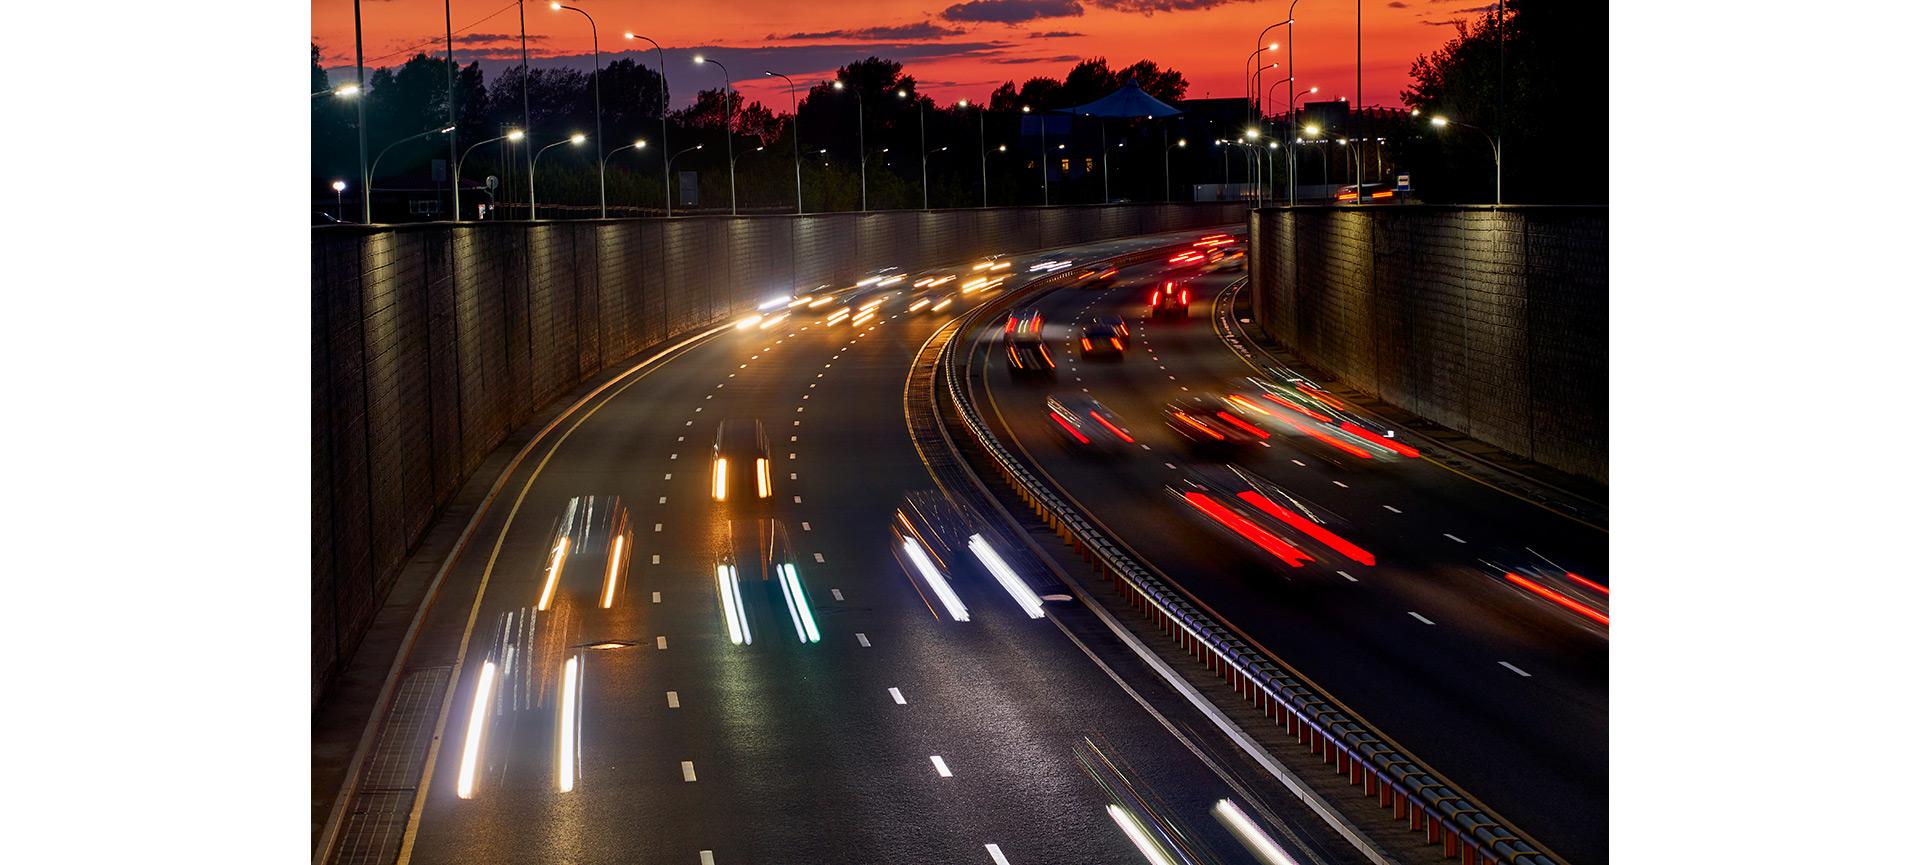
The primary purpose of time-lapse photography is to create the illusion of high-speed movement, effectively manipulating time to showcase scenes and subjects in a way that appears to accelerate the natural flow of events. This is not to be confused with long-exposure photography despite their similarities in capturing the passage of time.
In a time-lapse sequence, individual frames are captured at regular intervals over a prolonged period. When played back at normal speed, these frames create a mesmerizing effect, making it seem as though time is moving faster than it actually is – hence the term "time-lapse." This technique allows photographers to transform ordinary scenes into dynamic visual narratives.
Choosing the right equipment is crucial for time-lapse photography, but no matter what camera you use, practice is essential. Don't be afraid to revisit your scene and refine your shots – mastery comes with patience and persistence.
The right camera can make a significant difference in the quality and ease of capturing stunning time-lapse sequences. Canon offers a wide range of mirrorless cameras suited for time-lapse photography. The following all feature a built-in interval timer and time-lapse movie option.
To truly master time-lapse photography, having the right accessories is just as important as selecting the right camera. These tools not only enhance the quality of your shots but also make the process more efficient and enjoyable.
The most important part of your camera settings for time-lapse photography starts with being in manual mode. No matter your environment or camera model, it’s critical to control every aspect of the exposure. This will ensure consistency across all your shots.
When it comes to time-lapse photography, shooting in RAW is essential for achieving consistent and high-quality results. Although RAW files take up more space on your memory card, they offer the greatest flexibility during editing, allowing for finer adjustments in post-production.
For shutter speed, consider the effect you want to achieve. Generally, slower shutter speeds that will add a little bit of motion blur are more desirable; 1/30 seconds or slower is a good starting point.
When setting your interval, ensure your shutter speed is at least half the interval duration. This ensures there's enough time for each shot to complete before the next one is captured, preventing any overlap and maintaining the smooth flow of your time-lapse sequence.
Environmental considerations can make or break the success of your time-lapse photography.
When planning your time-lapse photography, consider environments where dramatic changes unfold over time. These shifts – whether in light, movement, or scenery – can create stunning visual narratives that captivate viewers.
Urban environments are dynamic and constantly in motion, making them perfect for time-lapse photography. From the hustle and bustle of city streets to the transition from day to night, the rapid pace of change in urban settings offers endless opportunities to capture striking visuals. Focus on elements like traffic, people, and architecture. Reflections in glass buildings, shadows cast by towering skyscrapers, and the interplay of artificial lights at dusk can all add depth and interest to your sequences.
Natural landscapes, with their gradual and often subtle transformations, offer a different kind of beauty for time-lapse photography. Whether it's the slow drift of clouds across a mountain range or the changing colours of a forest through the seasons, nature provides a serene yet powerful backdrop for time-lapse work. Patience is key when shooting in natural environments. Set longer intervals to capture the slow, majestic movements of nature, and use a wide-angle lens to encompass the grandeur of the landscape.
Capturing the night sky through celestial time-lapse photography is a mesmerizing way to showcase the movement of stars, planets, and even the Milky Way. This type of time-lapse requires careful planning, as you’ll need to account for factors like light pollution, weather conditions, and the phase of the moon. Long exposure times are essential to capture the faint light of stars, revealing the vastness of the cosmos. Using an intervalometer is crucial for maintaining consistent timing throughout the shoot, allowing for smooth transitions and fluid motion.
Post-processing is where your time-lapse photography truly comes to life, allowing you to refine and enhance the sequences you've captured. With the right tools and techniques, you can transform your raw footage into a polished, professional video that captivates your audience.
Editing is a personal process, not unlike photography. As you explore the effects you’d like to apply to your shots, consider the usability of various software. PowerDirector 365, Adobe Premiere Pro, and Final Cut Pro are a few of the editing programs used by Canon Ambassadors and professionals. Before diving into editing, consider which photos you want to use, the transitions you’d like to apply, and the final, desired effect you want your time-lapse photography to have on viewers. We recommend that beginners start with software that does some heavy lifting for you, making it easy to come to a final product. Those with more advanced skills can opt for software that gives them greater control over playback speed and frame intervals, thus creating a more unique sequence. While you might want to avoid a steep learning curve, most software is user-friendly. Given a bit of research and training, you can master it in no time.
Level up your skills: our various how-to guides cover everything from beginner tricks to creativity and composition.