How to Print Your Photos Like a Pro: Choosing the Best Paper, Ink, and Size
Printing doesn’t have to be complicated, and it definitely shouldn’t be an afterthought. With the right setup, you can turn your photos into prints that actually do them justice—whether they’re going on your wall or into a portfolio. Printing is that last layer of creative control where you decide how your image looks and feels in real life. You get to choose the paper, the finish, and make sure the colours look the way you meant them to. It’s a simple skill that makes a big difference in how your work is seen.
Why Print Quality Matters
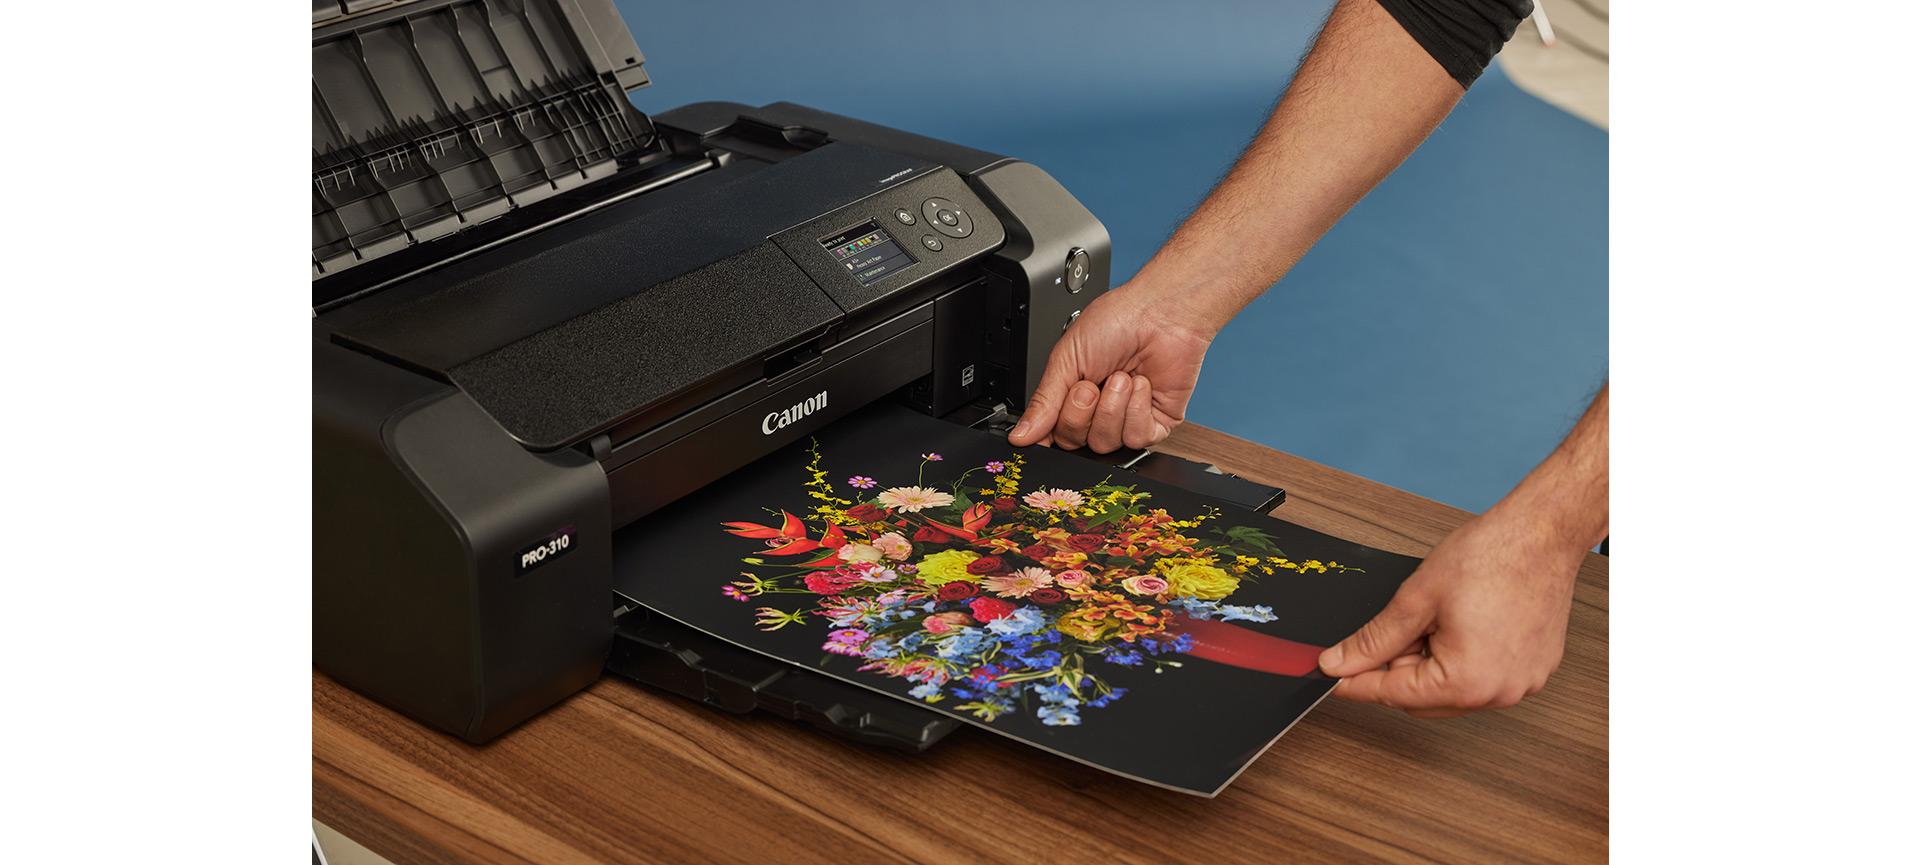
There’s something powerful about holding a photograph you took in your hands. A physical print holds permanence, weight, and has an impact that can’t be replicated on a screen. Printing your photographs can turn what could be a fleeting moment into a lasting keepsake.
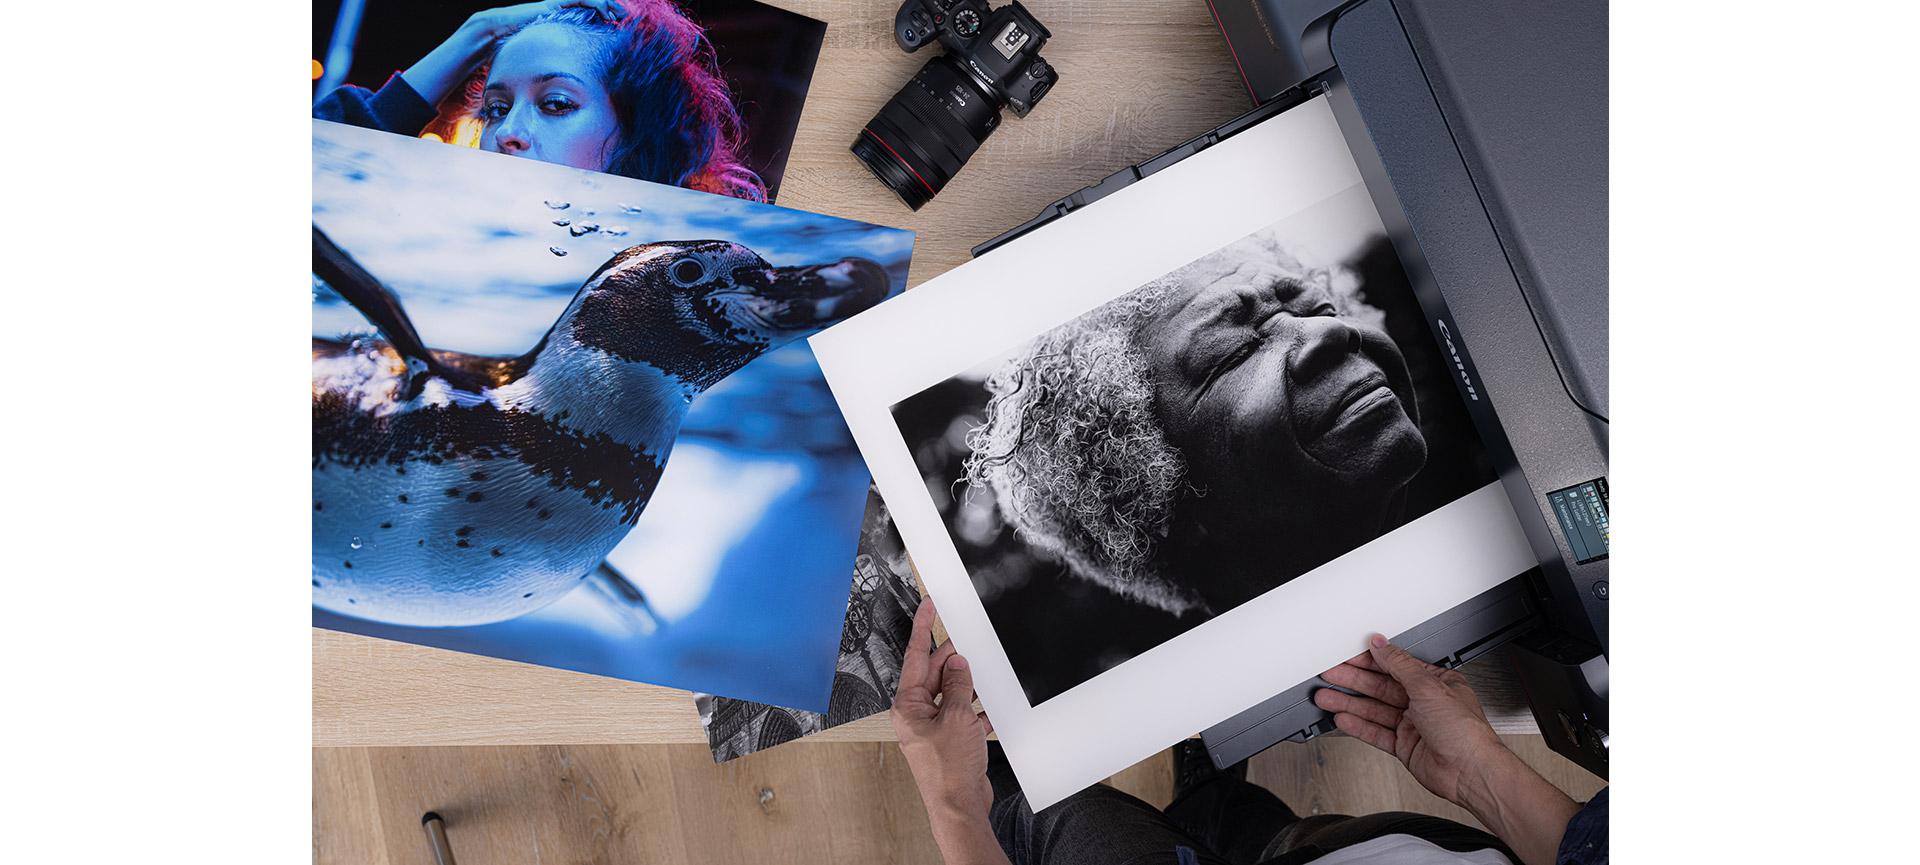
An important step in the process is choosing your materials. In the same way you carefully choose your camera, lens, and accessories, the printing materials you choose hold a similar weight on how your vision will come to life.
For example, if durability and protection are a top priority, archival-grade paper and ink combinations preserve your images for decades without fading, yellowing, or warping.
Choosing the Right Paper for Your Prints
When it comes to choosing the right paper, the surface texture, thickness, and coating all affect how your printed image looks and feels. Canon’s extensive lineup offers options for every kind of photo, from casual snapshots to professional portraits.
Here’s a closer look at three of the most popular types:
- Glossy: This is the go-to paper for vibrant, high-contrast images like travel shots and landscapes. Its reflective coating enhances colour and detail but may produce glare and show fingerprints.
- Matte: A non-reflective surface that offers a softer, more subtle look. Ideal for black-and-white portraits, muted tones, or any prints viewed under bright lights.
- Fine Art: Thick and textured, this premium paper gives your photos a tactile, museum-quality presence. Great for framing, exhibitions, or when you want to make a lasting impression.
Canon offers a wide variety of these papers that are designed to pair with Canon printers and inks for optimal results.
Understanding Ink and Colour Accuracy
Your photo paper is only half the equation. Canon’s printers and ink systems are designed to deliver colour accuracy and long-lasting results. When using Canon Genuine ink, you’re ensuring your prints reflect the tone, vibrancy, and detail of the original file.
Third-party inks are cheaper, but they often compromise on consistency and permanence. It might be tempting to save on cheaper, aftermarket ink, but the savings come at a cost of guaranteed results, compromising the consistency and permanence of the final product. Canon’s proprietary ink formulations are calibrated to prevent colour shifts, blotching, and fading.
Depending on your printer, you may be using dye-based inks for vivid colours or pigment-based inks for archival prints. Canon also offers specialty ink sets for portable and compact devices such as the SELPHY and IVY series—both compatible with SELPHY and IVY Ink + Paper.
Printing at Home vs. Using a Professional Service
There are benefits to both at-home and lab-based printing. Understanding the differences can help you decide what makes the most sense based on your goals.
- Home printing offers full creative control and immediate results. You can test variations in paper, layout, or colour correction without added turnaround time. For everyday projects, quick gifts, or learning workflows, it’s an efficient and rewarding process. For serious display work, Canon’s large-format printers bring professional results into the studio or home office.
- Professional services may may be ideal for large-format needs, commercial-quality framing, or batch printing. Photo labs often offer finishing services and access to high-end papers and printers beyond the consumer range. The Canon Print Shop offers a hands-on space where you can try out Canon printers , experiment with different papers, and print your own images. It's a creative hub that not only showcases what’s possible but lets you experience the process firsthand.
How to Resize and Format Photos for Printing
One of the most common reasons for disappointing print results is poor formatting. Preparing your digital files properly ensures your printed photo matches what you saw on screen.
Here are a few best practices that can make a serious difference in your final results before you hit “print”:
- Maintain high resolution: For crisp results, images should be at least 300 dpi at the print size you want. Low-resolution files can appear pixelated or blurry.
- Match aspect ratios: Standard photo sizes include 4x6, 5x7, 8x10, and 13x19. Cropping ahead of time helps preserve composition and prevent unintended cut-offs.
- Check colour profiles: Most Canon printers work best with sRGB colour mode. Be sure your editing software is exporting in a compatible format.
Canon offers built-in printer software and tools to help with layout, border options, and colour correction. For those looking to elevate presentation, our Frame Lab offers a seamless way to turn your best prints into gallery-ready pieces.
Whether you're printing snapshots for a family album or creating wall-ready artwork, the process can be just as satisfying as capturing the photo itself. With the right combination of paper, ink, and printer, professional results are well within reach.