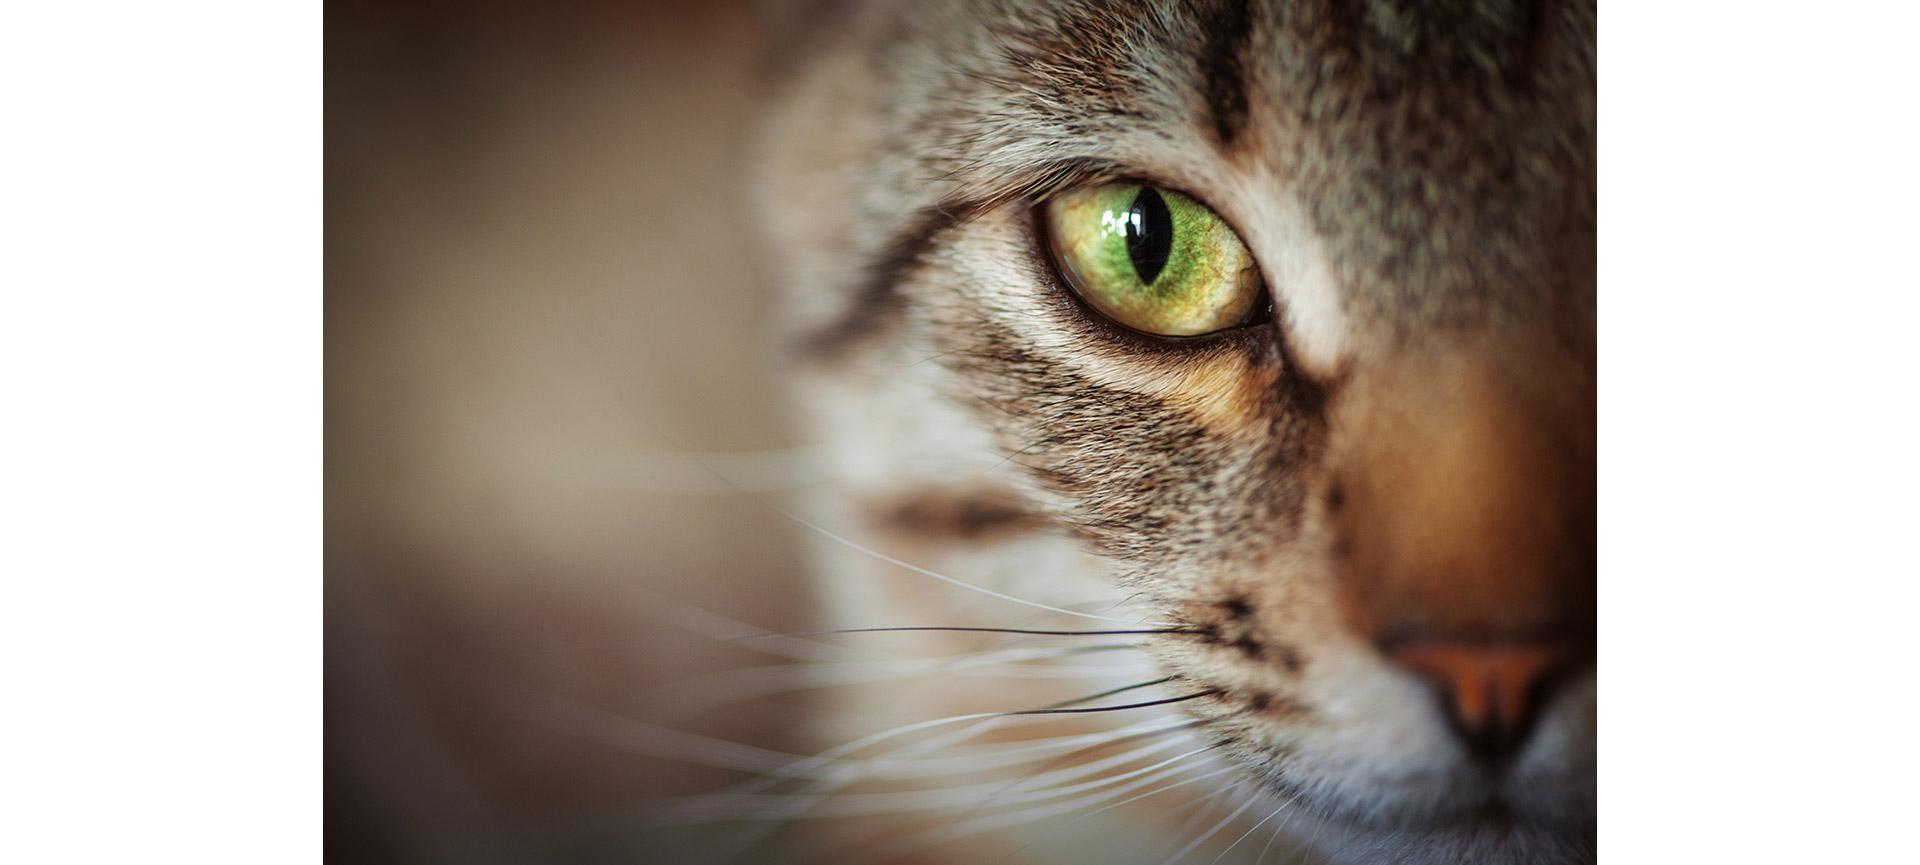
The world of macro photography invites you to see the extraordinary in the ordinary. A dewdrop can appear as a shimmering orb, the texture of a leaf turns into a sprawling landscape, and the eyes of an insect reveal intricate patterns invisible to the naked eye. This genre of photography is all about getting close—really close—to your subject.
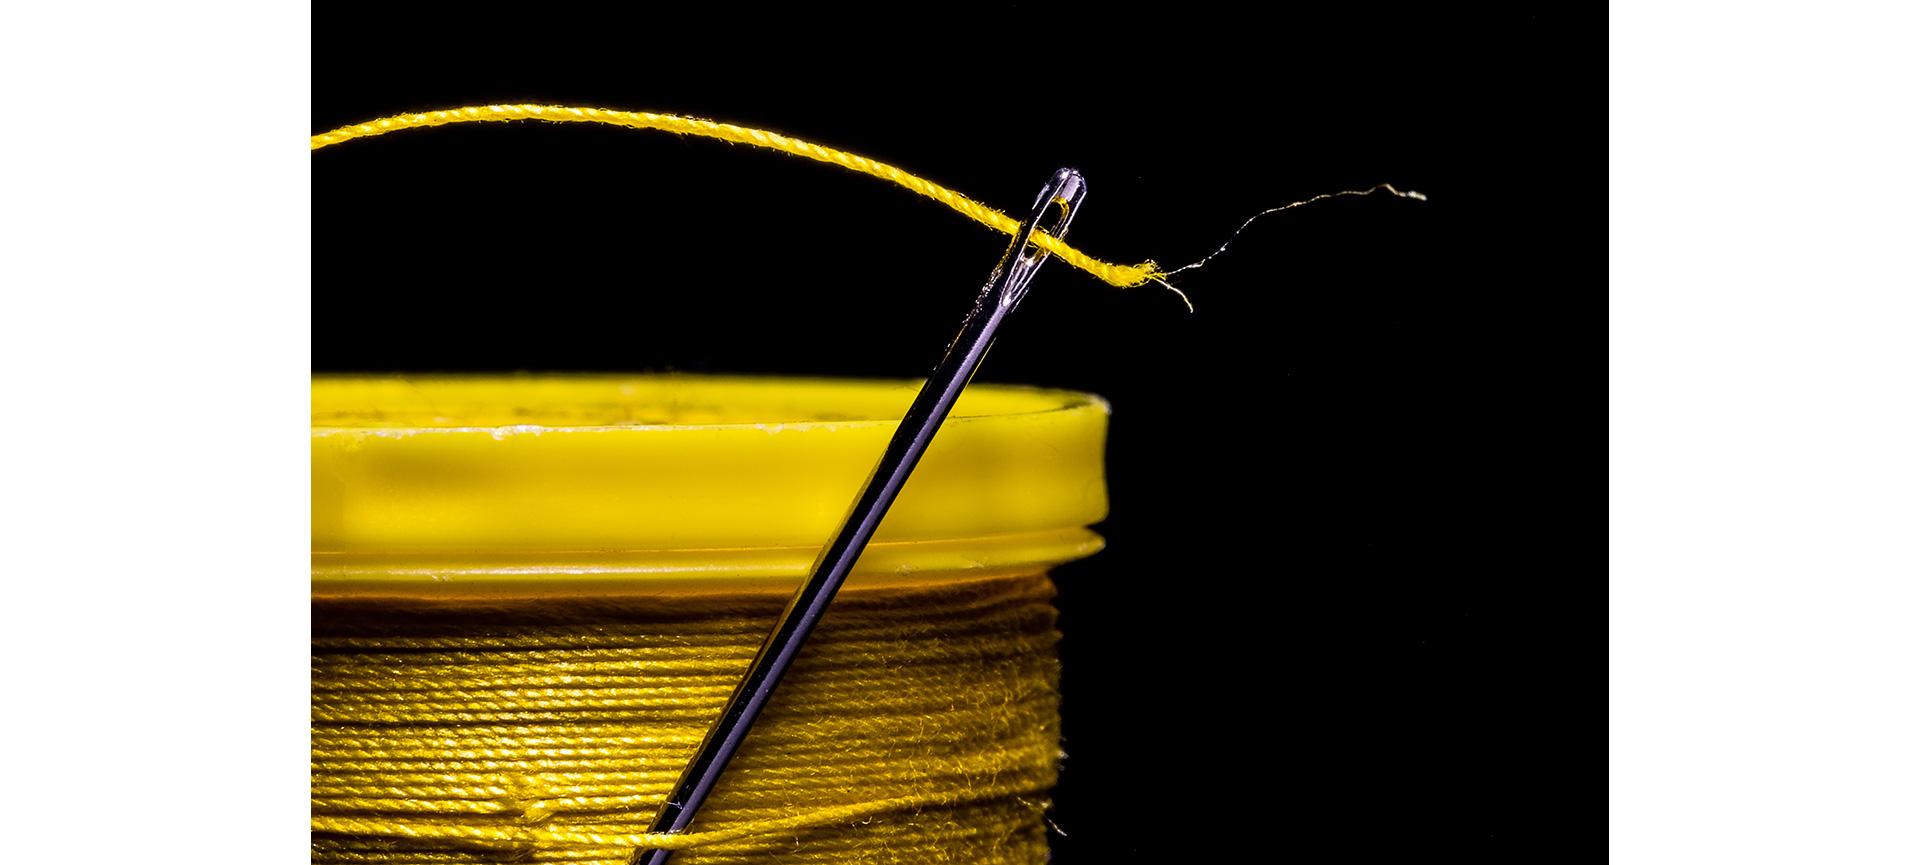
But it’s not just about putting your lens near a subject and snapping away. Successful macro photography requires the right gear, a thoughtful approach to lighting and composition, and a steady hand (or tripod). Whether you're just curious or ready to explore a new photographic niche, learning the fundamentals of macro photography opens up an entirely new way of seeing the world around you.
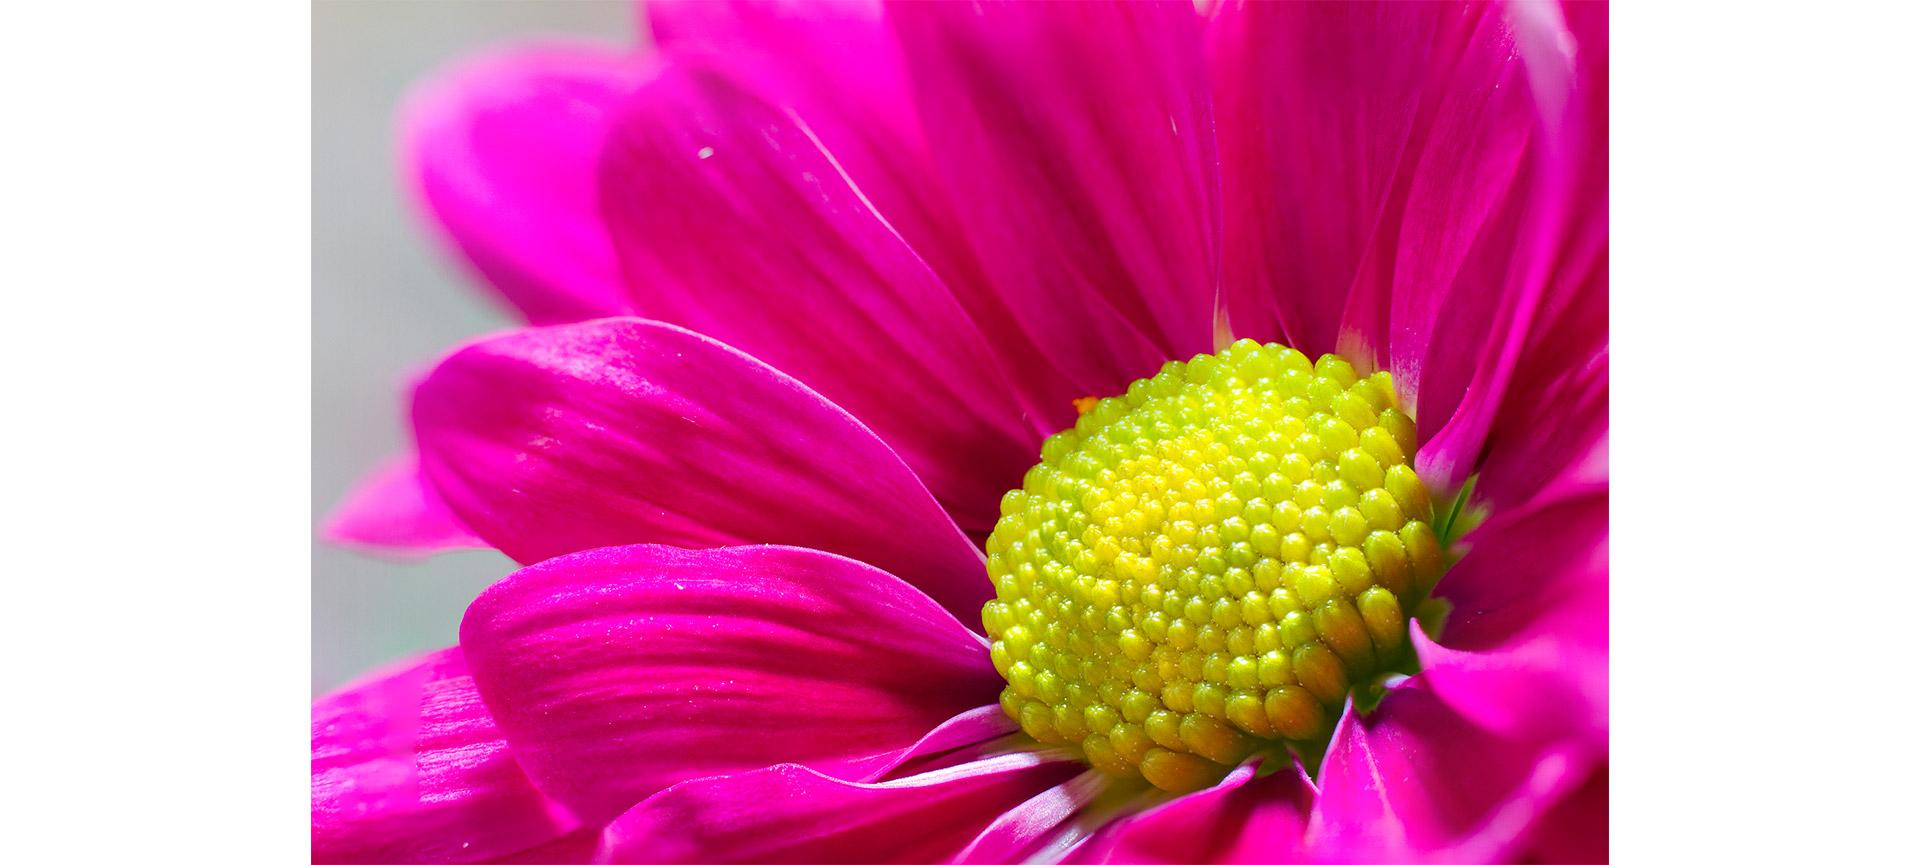
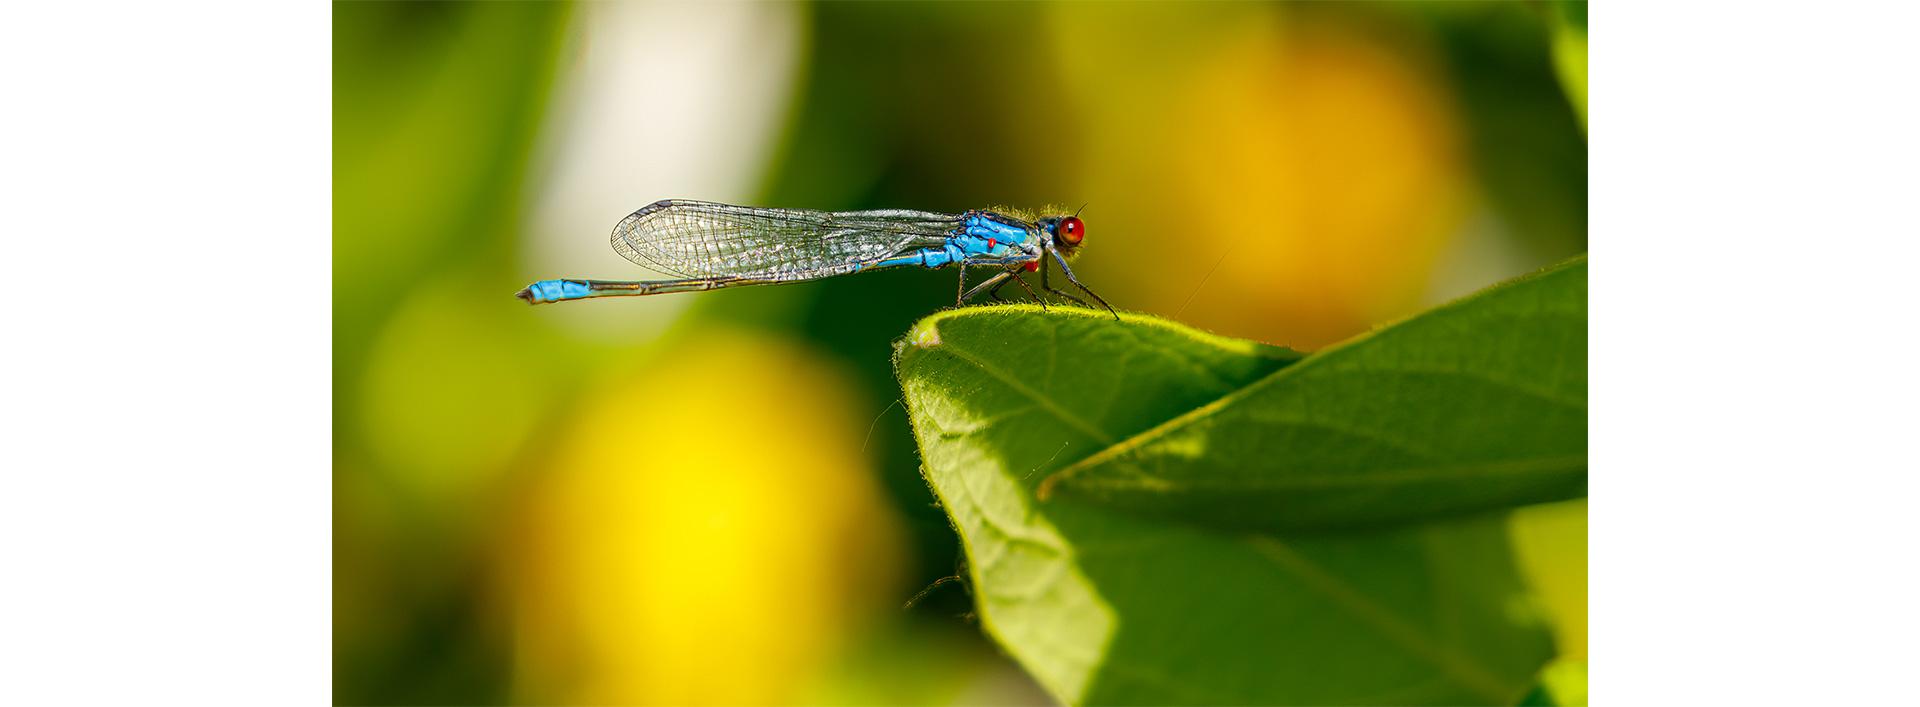
Macro photography is the art of capturing extreme close-ups of small subjects, revealing details that the human eye often overlooks. In technical terms, it refers to images where the subject is reproduced on the camera sensor at life-size (1:1) or greater magnification. But in creative terms, it’s your chance to explore an entirely new universe—where textures, patterns, and colours emerge with striking, almost surreal intensity.
From the delicate veins of a flower petal to the fine hairs on a bee’s legs, macro photography reveals beauty in the miniature. It’s commonly used in nature photography—think insects, plants, and water droplets—but it also has applications in product photography, fine art, and even scientific research.
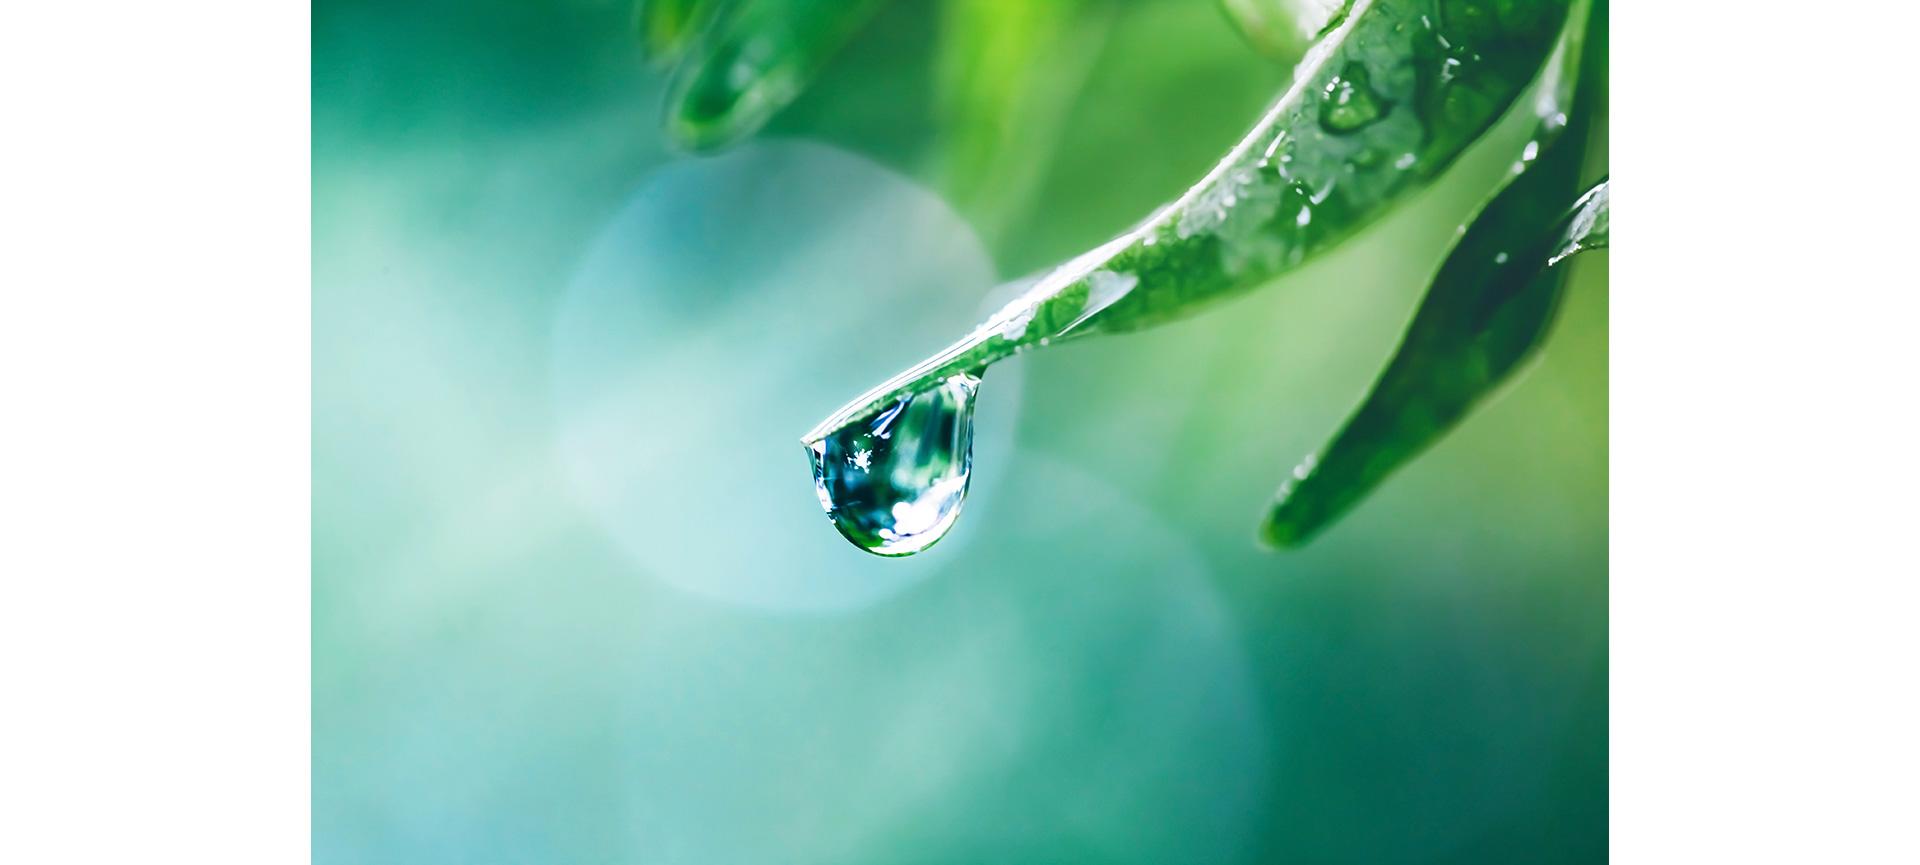
At its core, macro photography challenges you to slow down, look closer, and find wonder in the smallest details.
The best macro photographers rely on specific gear to bring tiny subjects into sharp, stunning focus. It's best to experiment with your own setup to determine what the “right” equipment is for your vision. Work with what feels best in your creative control.
A DSLR or mirrorless camera with manual settings gives you the flexibility needed for close-up work. Larger sensors (like APS-C or full-frame) offer better low-light performance and depth of field control—two key factors in macro photography.
The most important tool in your kit is a macro lens. A “true” macro lens offers 1:1 magnification, meaning the subject appears life-size on your camera’s sensor. Popular focal lengths include 60mm, 100mm, and 105mm. Longer lenses (like 100mm) provide more working distance, which is ideal for photographing shy insects or intricate textures without casting shadows.
Canon RF 100mm f/2.8L Macro IS USM: Offers 1.4x magnification and image stabilization, great for handheld shots.
Canon RF 85mm f/2 Macro IS STM: A compact and budget-friendly RF lens, perfect for close-up shots with 0.5x magnification. While not a true 1:1 macro, it offers impressive detail for creative shots, portraits and can still be great for shooting things like insects or flowers. Built-in image stabilization helps ensure sharp handheld photos.
Canon EF 100mm f/2.8L IS USM Macro: This lens provides true 1:1 magnification for life-size macro shots, with excellent image stabilization and a comfortable 100mm focal length for capturing small subjects like insects.
When you're working at high magnification, even the slightest camera movement can result in a blurry image. A sturdy tripod allows for precision, especially in low light or when using longer shutter speeds.
Macro cusing rails mount on your tripod and let you shift the camera forward and backward in small increments. This helps you fine-tune your composition or stack focus points for greater depth of field.
Natural light can work, but macro photography often benefits from additional lighting. Ring lights, twin flash systems, or small LED panels help illuminate your subject evenly and reduce harsh shadows.
In macro photography, your settings aren’t just technical choices—they're creative tools that shape the mood, sharpness, and clarity of your final image. Because you're working so close to your subject, even tiny adjustments can have a big impact.
One of the biggest challenges in macro photography is managing depth of field. At close distances, even wide apertures like f/2.8 can result in razor-thin focus—sometimes just a fraction of a millimetre. Stopping down your aperture (f/8–f/16) increases the depth of field, helping keep more of your subject sharp.
Pro Tip: Be mindful of diffraction at very small apertures (like f/22), which can soften your image.
Macro subjects don’t always sit still—leaves flutter, insects twitch, and even your own hand introduces movement. Use faster shutter speeds (1/100s or faster) for handheld shots or to freeze motion. For static subjects and controlled lighting, slower speeds can be used with a tripod.
ISO helps you brighten your exposure, but high ISO settings can introduce noise, especially when cropping tiny details. Try to keep ISO as low as possible—100 to 400 is ideal—unless you’re in a dim environment or capturing a moving subject.
Autofocus can struggle with close distances and shallow depth of field. Manual focus allows for precise adjustments and is especially useful when using a tripod. Use your camera’s Live View and zoom function to double-check critical sharpness.
Macro photography is as much about technique as it is about gear. Even with the best equipment, capturing crisp, compelling close-ups takes patience, precision, and a little bit of creative thinking. Here are some key techniques to help you highlight the small things in all their glory.
Because depth of field is so shallow, even the tiniest movement can throw your subject out of focus. Use a tripod whenever possible, and pair it with a remote shutter release or your camera’s self-timer to minimize camera shake. For handheld shots, engage image stabilization and brace your arms or camera against a stable surface to reduce motion.
When photographing insects, animals, or even intricate man-made objects, focus on the feature that holds the most visual interest—often the eyes, a central pattern, or a sharp texture. This draws viewers into the photo and adds emotional or narrative weight.
Autofocus may hunt or miss at close distances. Switch to manual focus and use Live View to zoom in and adjust with precision. For even greater control, a macro focusing rail lets you shift the camera slightly without touching the lens.
Don’t be afraid to get close, really close. Fill the frame with your subject to emphasize detail and eliminate visual clutter. Don’t shy away from experimenting with unconventional angles, negative space, and tight crops to add drama and draw attention to texture and form.
Soft, diffused natural light (like an overcast sky or light filtered through a sheer curtain) works beautifully for macro photography. Harsh direct sunlight can cause blown highlights or deep shadows. Consider using a small diffuser or reflector to balance light and enhance your subject.
When one shot doesn’t give you enough sharpness across your subject, take multiple images focused at slightly different points and combine them in post-processing. This “focus stacking” technique is especially helpful for static subjects like flowers or still-life compositions.
Even with the best in-camera techniques, post-processing is where your macro shots truly come to life. It allows you to fine-tune details, correct minor issues, and enhance the visual impact without losing the natural beauty of your subject.
One of the most important aspects before you sit down for post-processing is to ensure you shoot in RAW. Shooting in RAW gives you greater flexibility when adjusting exposure, white balance, and detail. JPEGs compress data and limit your options—RAW keeps everything intact for cleaner edits.
Macro photography opens up a world of subjects hiding in plain sight—on your windowsill, in your backyard, or even on your kitchen counter. If you're wondering where to start or looking to try something new, here are some creative ideas to spark your next shoot:
Capture the intricate beauty of the natural world—petals, textures, and tiny creatures all make fascinating subjects.
How to Do It
Household items can become abstract and artistic when viewed up close.
How to Do It
Zoom in on the rich textures of food to create mouthwatering macro images.
How to Do It