The night sky is full of mystery and possibilities. Trying to capture that beauty and mystique can be tricky. The secrets of astrophotography can be revealed, though – it just takes the right cameras and lenses, settings, and expert tips to help uncover them.
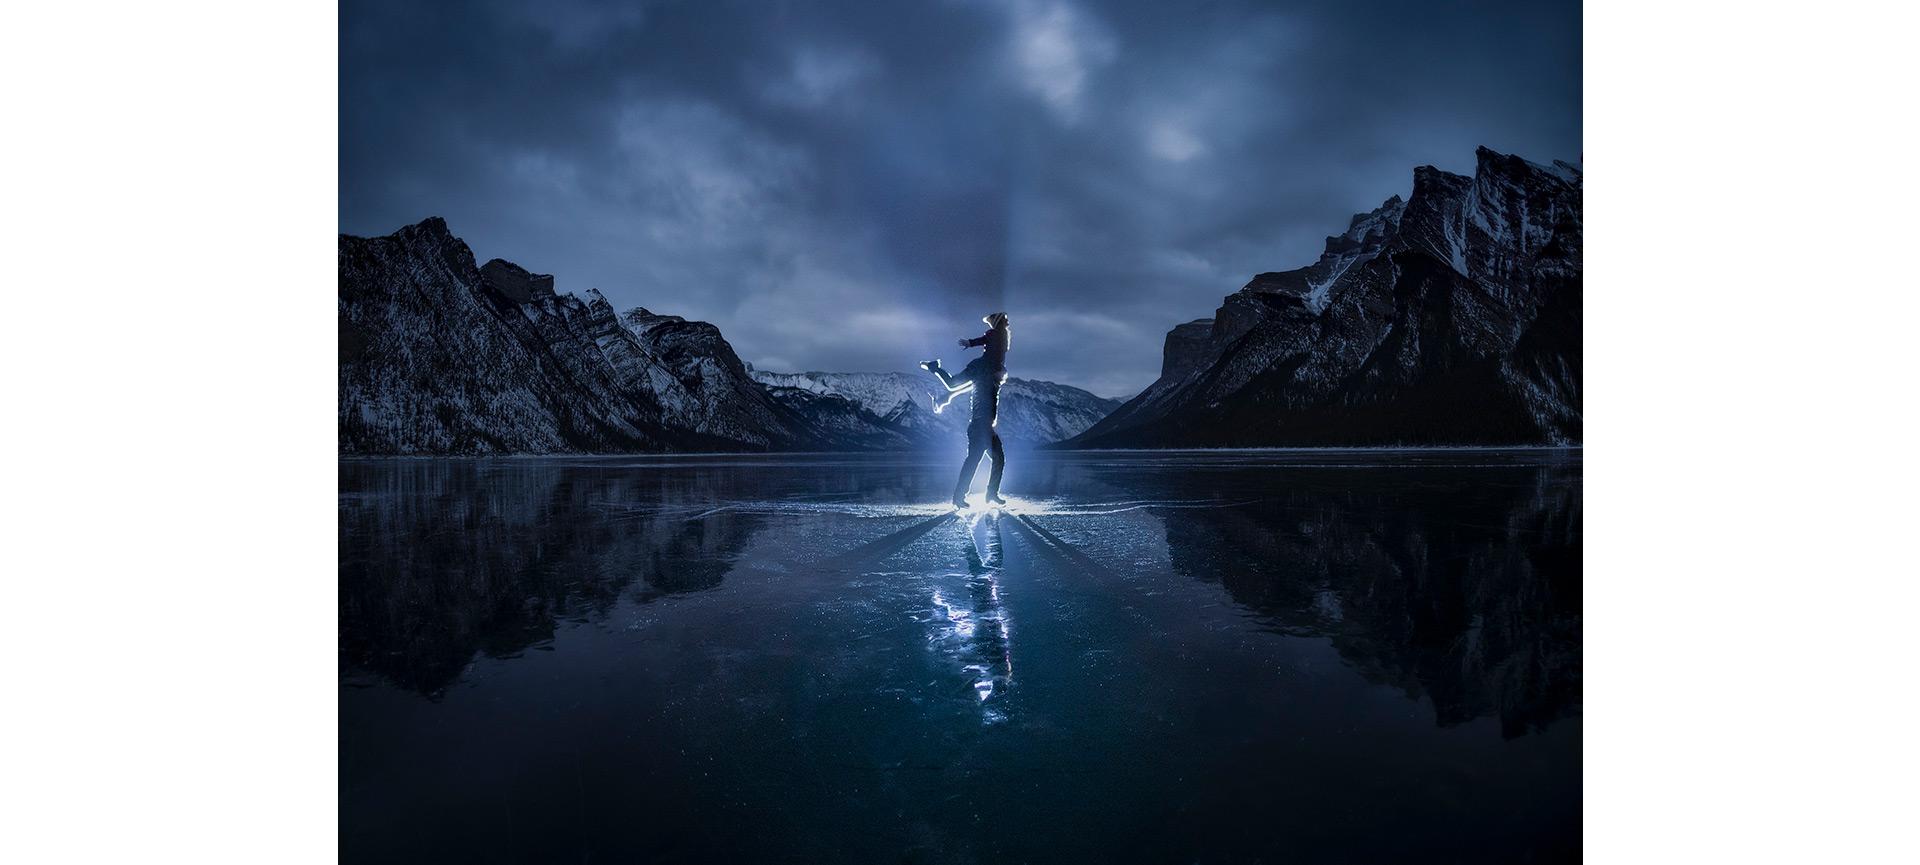
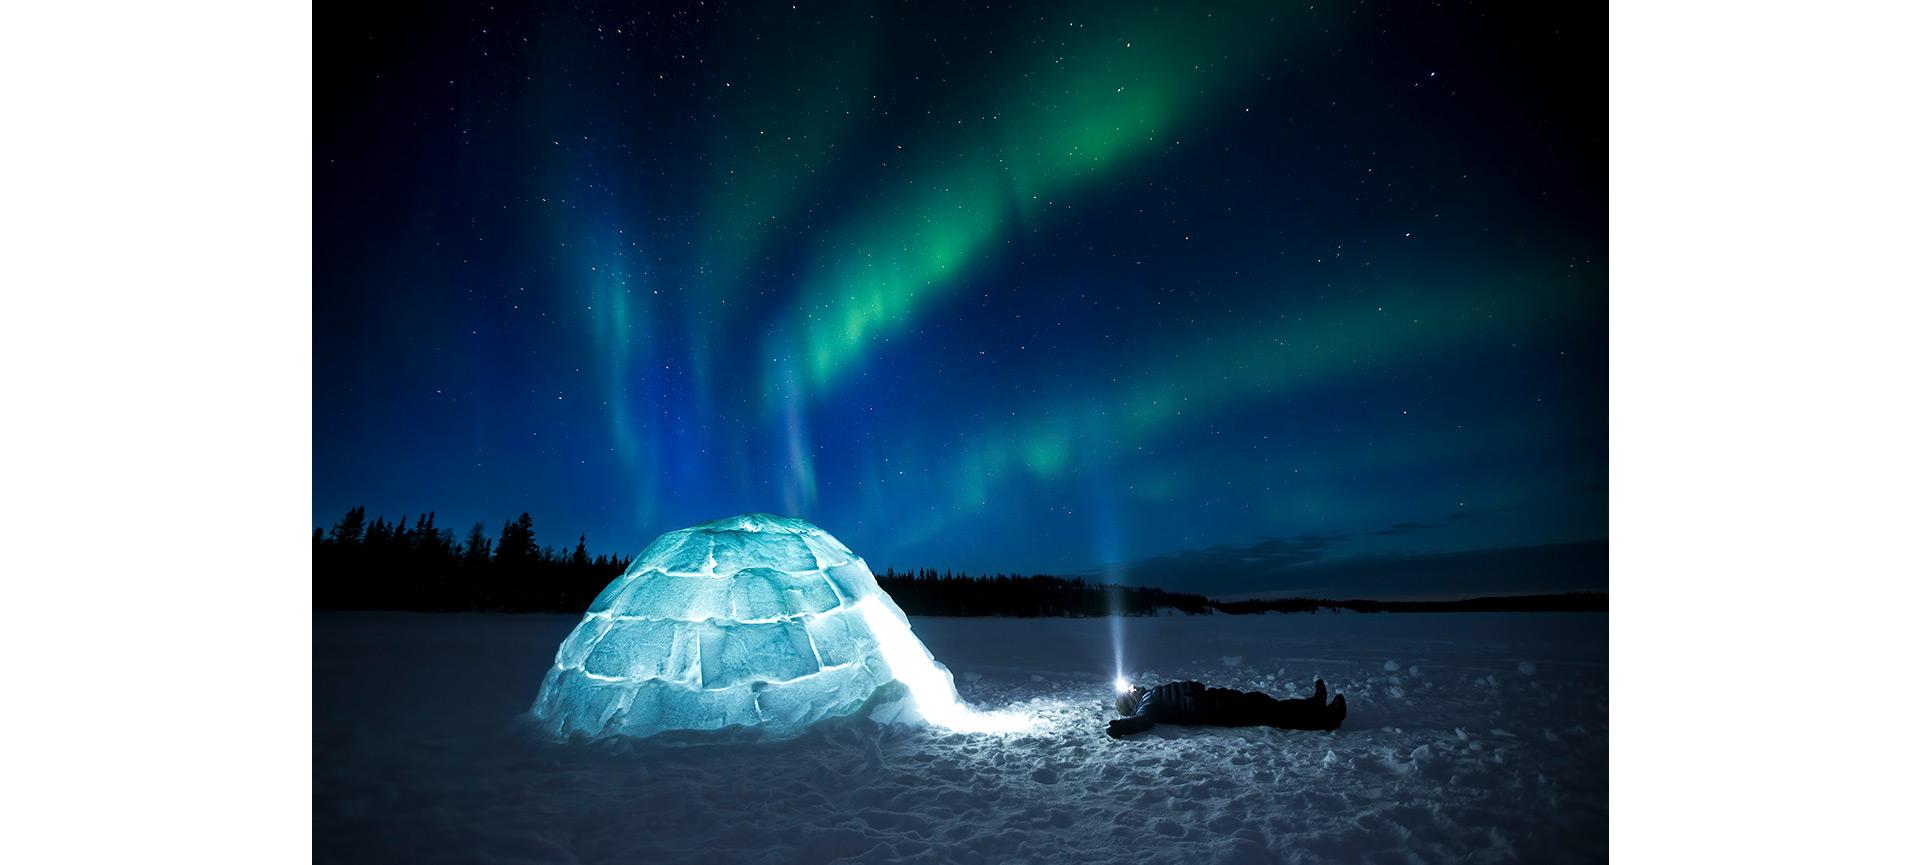
We spoke with Canon Canada Ambassador Paul Zizka, an award-winning mountain landscape and adventure photographer based in Banff, Alta., and a Fellow of the Royal Canadian Geographical Society, for tips and techniques about the art of astrophotography. Zizka also has an On-Demand Beyond the Basics course – available through Canon Creator Lab – that teaches you how to create stunning landscape images in any outdoor lighting condition.
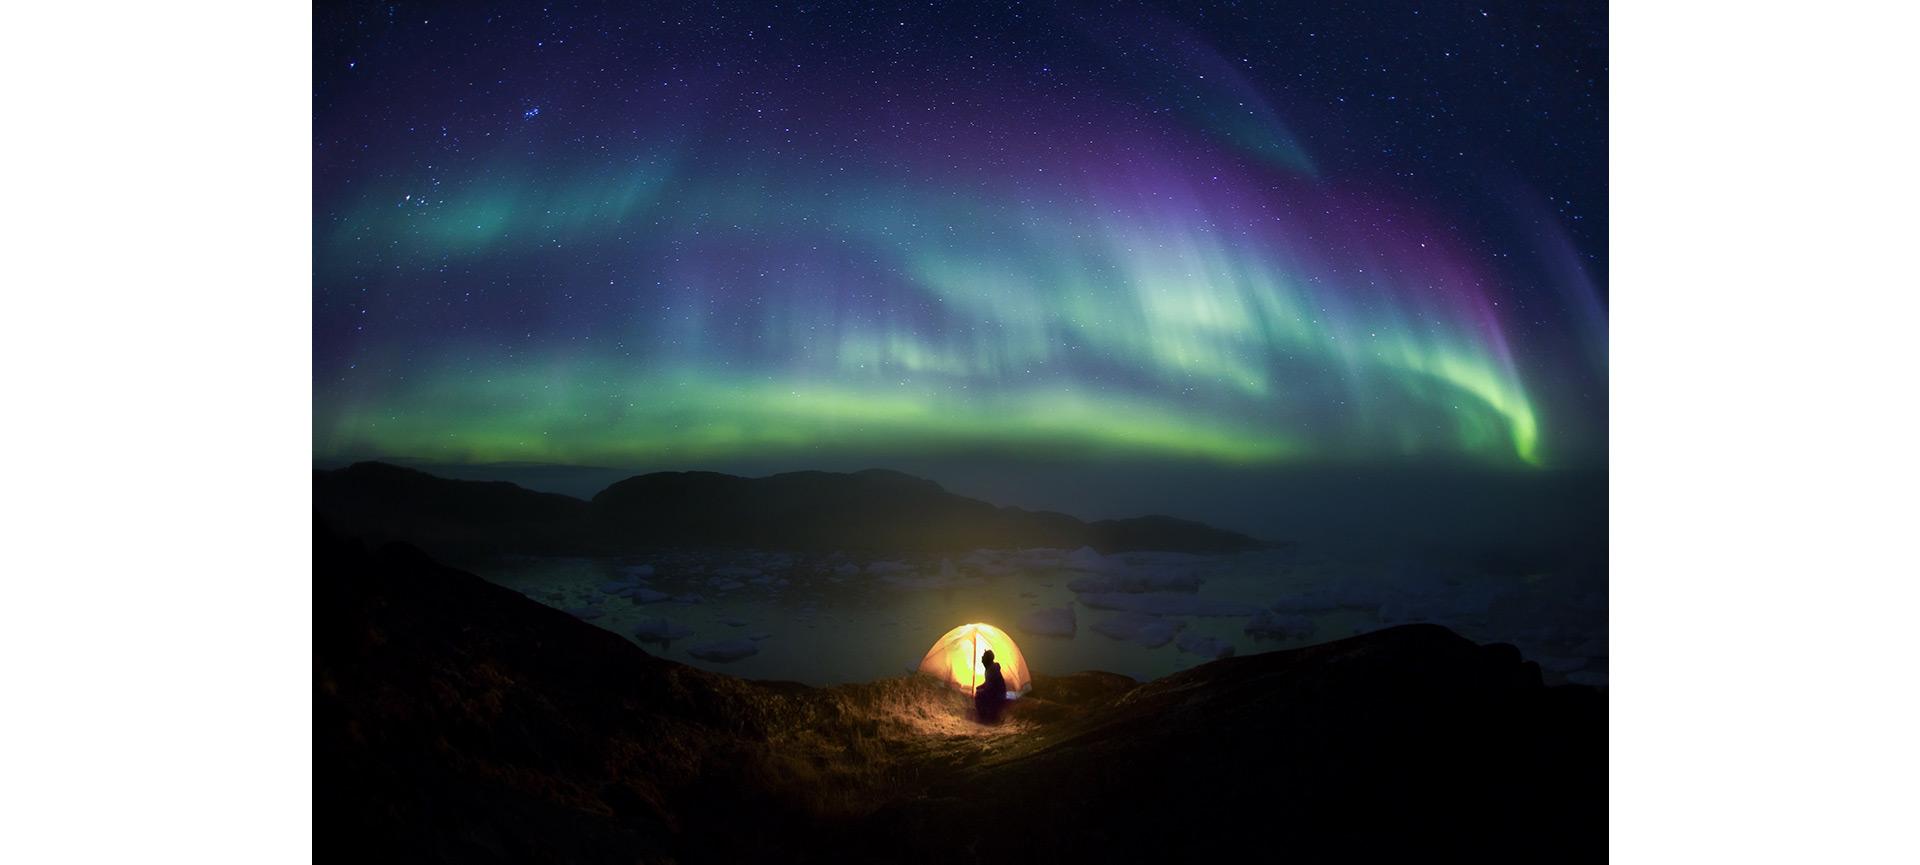
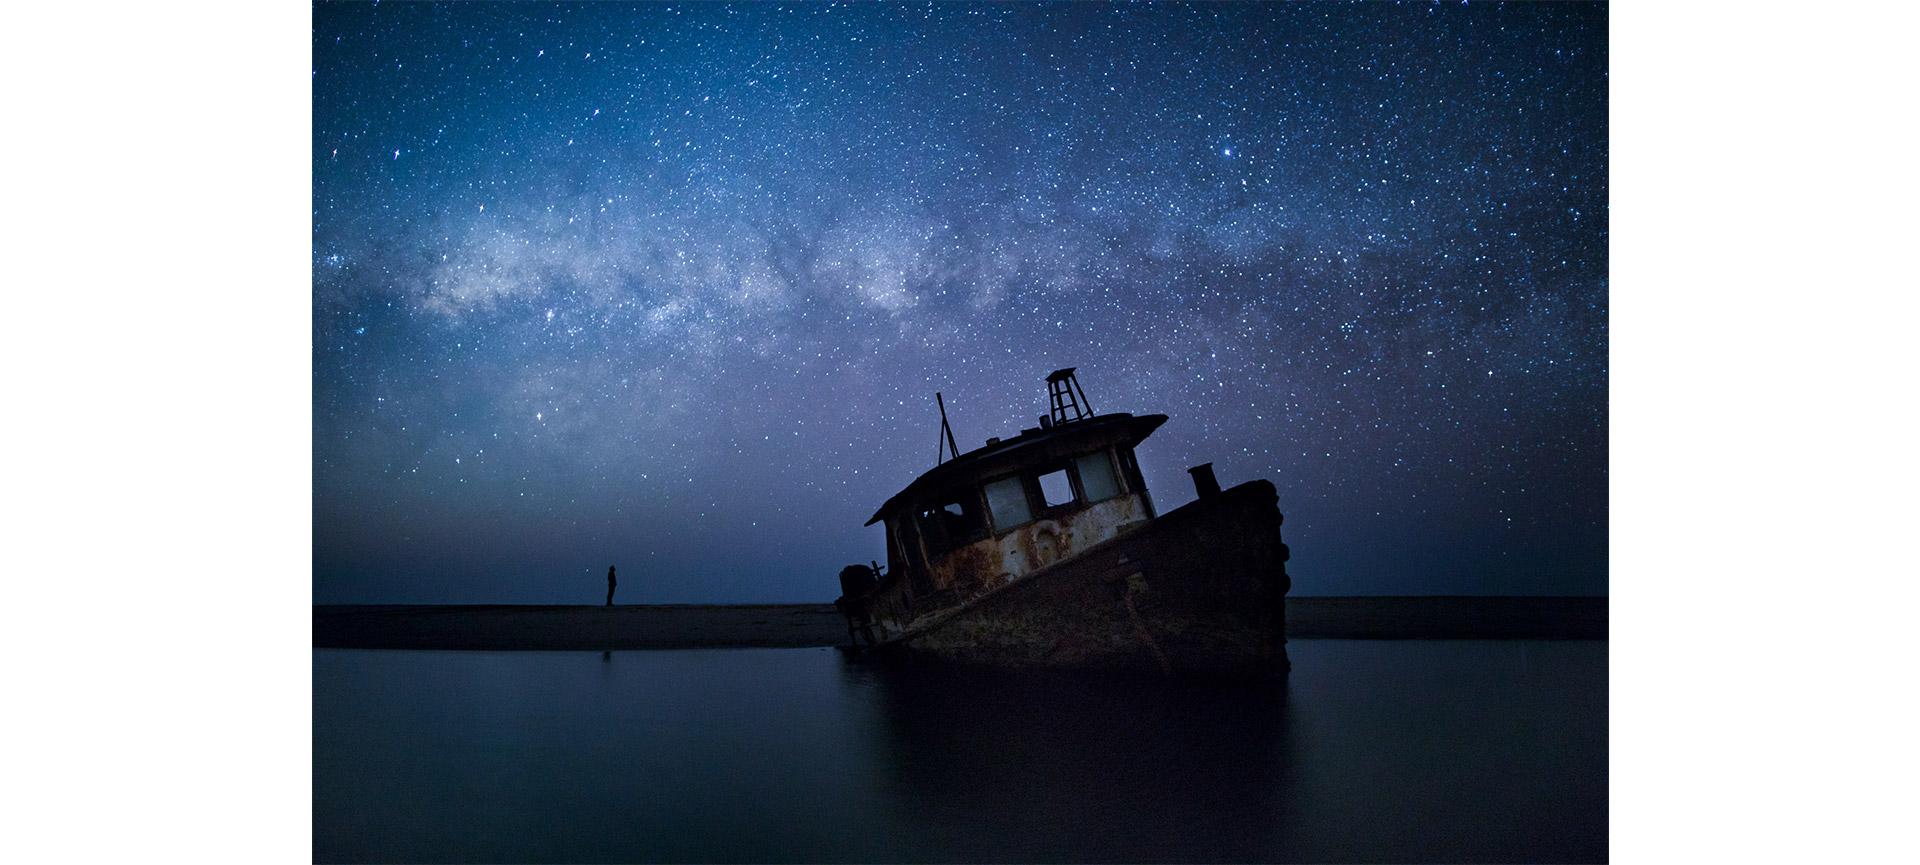
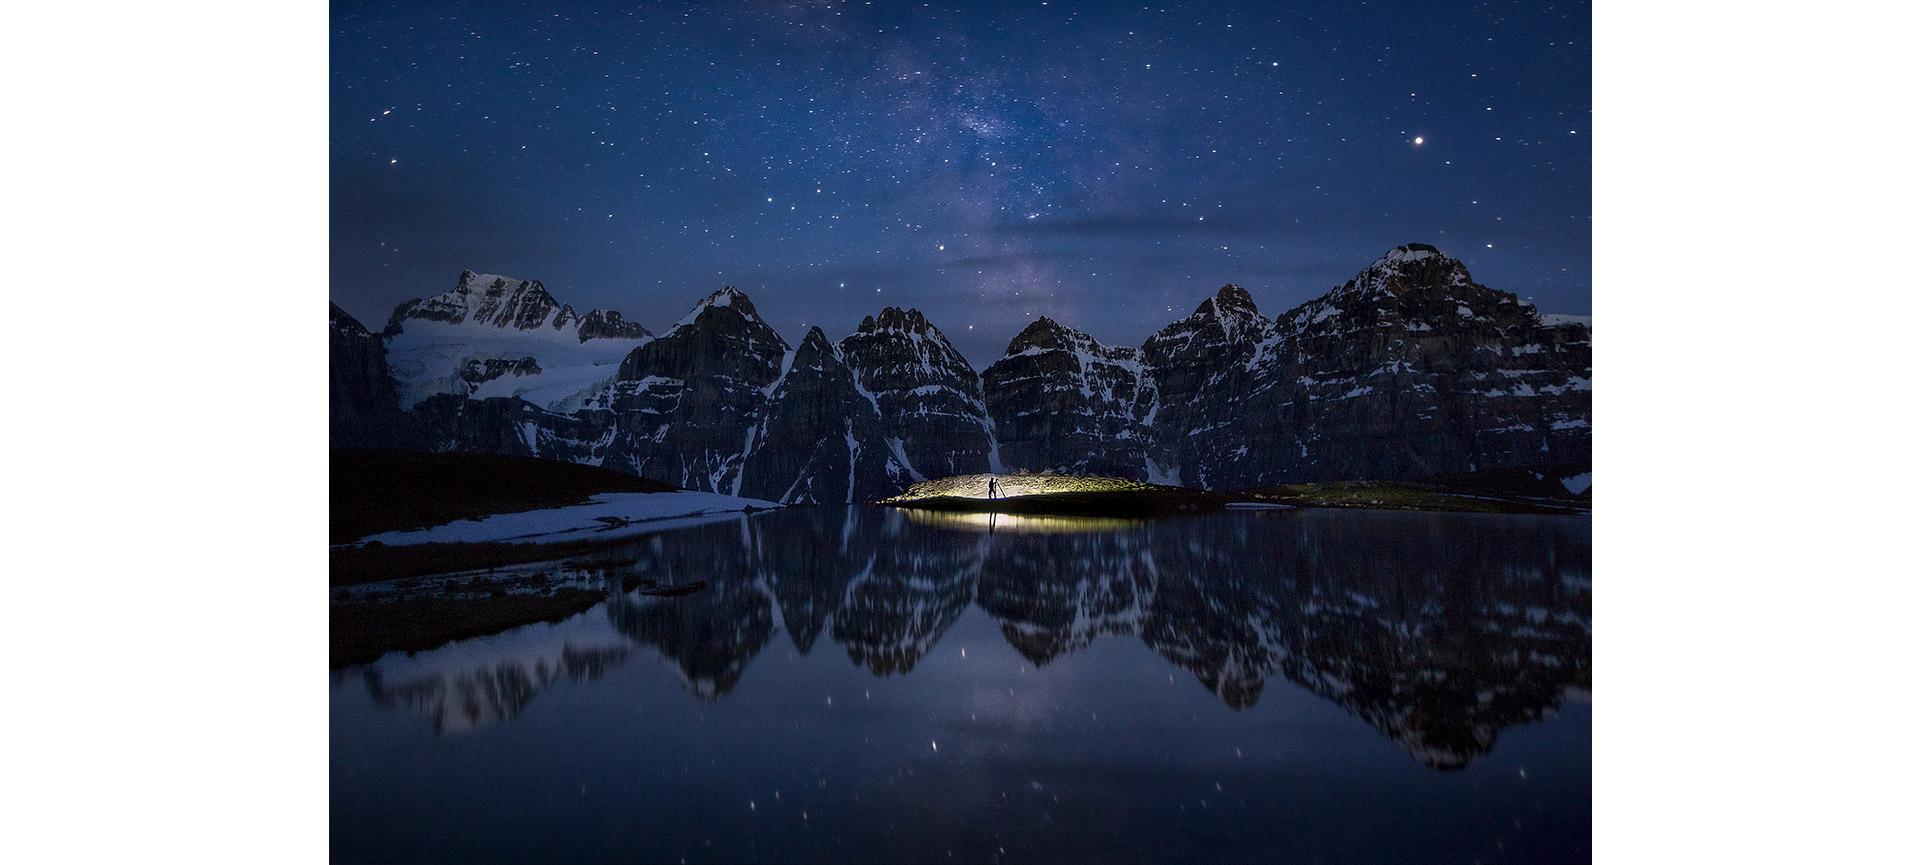
“There’s so much magic in astrophotography. It makes me feel like a kid,” he says. “Who doesn’t love stars, meteors, the Northern Lights, the Milky Way? Those are phenomena that will stir up emotion in anyone. I love the magic associated with it. I love how peaceful it is at night.”
Zizka enjoys the challenge of astrophotography. You have to make creative choices and prioritize your key settings – ISO, aperture, shutter speed – due to the fact that you’re working with limited light. “It’s definitely not the easiest type of photography, but when it does work out, it’s such an immensely rewarding type of photography.”
The right camera and lens are key (of course!), but before you head out for the night, pack a snack, some gloves, and an extra layer of clothing. Nighttime photography is its own world, and it takes time to put together even a single image. Investing in a good quality headlamp that’s easy to operate in the dark is also worthwhile.
Having a camera that can handle high ISOs is crucial. “If you feel that you can push your ISO comfortably to 6400 or more and still get images that you would proudly print, that’s a good indicator that your camera will perform well at nighttime,” says Zizka.
A camera that’s user-friendly also helps. “I use the EOS R5, which I feel is very intuitive,” says Zizka. “I can access the features that I need easily and efficiently, even though I’m operating in the dark.”
Choosing a full-frame camera will also benefit your astrophotography. It’s larger image sensor lets in more light. “I would recommend a full-frame camera, although there’s no question you could get stunning images with a crop sensor,” says Zizka. “But if you’re going to shoot with a crop sensor, get a lens that is extra wide.”
Canon also recommends trying the EOS R8, a full-frame mirrorless camera with a 24.2-megapixel CMOS image sensor and up to ISO 102,400 (expandable up to 204,800).
The ideal lens for astrophotography needs to do two things well: shoot fast and shoot wide. Look for a lens that’s F2.8 or higher. Zizka’s go-to is the RF 15-35mm F2.8 L IS USM, which provides that perfect balance between aperture and focal length.
“Usually you want to maximize the wow factor by including a lot of what’s happening in the sky,” says Zizka. That may include the Milky Way stretching across the sky, the Aurora Borealis coming out to play, or maybe just the sheer number of stars. You may also want to include a foreground element. “People are drawn to creating compositions that tie in the ground with the sky. It helps to be able to shoot wide to fit all those elements in your composition.”
Canon suggests you could also try the RF 15-30mm F4.5-6.3 IS STM, a compact and light ultra-wide zoom lens that comes with built-in optical image stabilization to enhance your low-light shooting abilities.
The night sky presents a unique canvas every time you look. While you’ll need to mark some celestial events on a calendar, there’s always a whole new world to gaze up to when the sun goes down.
For meteor showers, you want to shoot as fast possible – F2.8 or as low as the aperture will go – and push the ISO as high as you can while still getting images that are usable. If you set the ISO as high as the camera lets you, your images will likely be too noisy. Zizka suggests shooting at F2.8 with ISO 6400, then relying on the histogram to ensure enough light is reaching the image sensor.
And don’t stop shooting! “If you’re only shooting occasionally, chances are those beautiful meteors will streak through the sky between frames,” says Zizka. “Constantly shoot. Commit the time.”
Planetary alignment describes the event where several planets gather on the same side of the sun at once. It’s not a common occurrence, so you’ll want to be ready when it happens. “If you’re working with very long lenses, in order to make the planets as prominent as possible, you need to keep the shutter speed as short as possible,” says Zizka. “If you shoot wide, you have more time to work with before the objects in the sky will seemingly move.”
To truly capture the feel of a planet, you’ll need a super-telephoto lens (minimum 500mm focal length). “You won’t get the deep space feel where it can fill the frame with Saturn and its rings,” says Zizka, “but you can still build images around those elements where they won’t just be accessories. They’ll be what the image is about.”
To capture the galaxy, you want the stars as sharp as possible. To do that, bump the ISO as high as it will go (while still yielding usable images) and shoot with as wide an aperture as possible (F2.8, F2, or F1.4).
To capture the Northern Lights, you’ll need to shoot as fast as possible as well. “That means accepting a little higher ISO, a little more noise, and accepting that you’re going to be shooting at F2.8. It comes down to priorities,” says Zizka. “You can’t have it all sometimes at night.”
When you’re shooting the Milky Way or the Aurora Borealis, the most important factor is ambient moonlight. Whether you’re working with a full moon or no moon at all will inevitably determine your settings.
Start with choosing a place where you have a few compositions already in mind – locations that you’re familiar with and can boost your confident. You’ll make the transition to nighttime photography a little easier on yourself if you know what a place looks like in the daytime.
“Try to go when you have a little bit of moonlight to work with,” says Zizka. “If you go out on a new moon night, you’ll have tons of stars to work with, but chances are you’ll struggle more with composing, focusing, and lighting everything up properly.” Zizka recommends easing into nighttime photography, starting on full moon or half moon nights. “Then as you get more comfortable with the process, venture out when there’s no moon at all and it’s pitch black.”
Having a sturdy tripod that’s easy to operate in the dark is crucial. A tripod provides stability. Astrophotographers often shoot roadside and don’t want to travel with a lot of gear. “I recommend a bulkier tripod, just because you’re working with long exposures, and if it’s windy it’s hard to retain sharpness,” says Zizka. “If I’m going to do roadside night photography locally, I'll just grab the biggest tripod that I own on my way out the door.”
Some astrophotographers may opt to use a tracking mount, a device that compensates the earth’s rotation and can help with long exposure photography. If you’re going to endeavour into deep space photography, you’ll need a tracker. However, for photos that showcase the sky and the landscape, you may not want to use one. You’re tracking for one element, then the other moves in relation to that. That will lead to smearing that will need to be blended in post-production. “The latest cameras perform so well at high ISO that I find tracking is less and less required,” says Zizka. “I would rather shoot one image at higher ISO and reduce noise, either in camera or in post or both, and save myself the work of aligning images and blending them in post.”
Long exposure is a technique that allows for an incredible amount of light to gather on the image sensor by leaving the shutter open for extended durations. “One of the greatest things about astrophotography is what the camera can show you that the naked human eye can’t see on its own,” says Zizka. “Our eyes are not able to gather 30 seconds of light. We’re overcoming that limitation through the power of technology, which allows us to pile up 30 seconds and beyond. You can expose for a full hour and see things that you never knew were in front of you.”
Zizka recommends cranking the ISO as high as your camera allows when first composing an image, just to see what’s immediately in front of you. If you compose with 30-second exposures, you’ll have to wait half a minute to see what elements are in your frame, which isn’t efficient. Once you find your ideal composition, dial down the ISO to 3200 or 6400, to the highest usable ISO you feel your camera can achieve. “Composing at very high ISOs, then shooting slightly lower is a huge time-saver.”
Exposure time can vary. It often depends on the ambient moonlight. On a seemingly moon-less night, you may set your exposure to 30 seconds. The moon rises, and you can go to two seconds in a matter of moments. If there’s available moonlight or you introduce artificial light, try starting with five-second exposures, maybe even shorter.
A frequent pitfall for many astrophotographers is getting home and discovering their images are darker than they thought they’d be. When you’re shooting and surrounded by darkness, the image on the LCD looks very bright.
“I always tell people don’t rely on just the LCD when you’re trying to determine whether or not you’ve exposed correctly,” says Zizka. “Always make sure you check your histogram, because that gives you a true representation of how much light you've acquired.”
Post-processing refers to the changes you can make to your photos using editing software. Zizka recommends shooting in RAW. Your images are likely to have some noise in them, and you’ll be able to reduce it without losing image data. If you plan on printing your images, shooting in RAW becomes increasingly important, especially for photos you may want to enlarge.
Knowing how to focus stack is a helpful – but more advanced – technique to learn if you want to shoot epic-like images with the foreground leading into the background. When you shoot wide open, you have a shallow depth of field. If you focus on the sky, the foreground goes soft; if you focus on the foreground, the sky goes soft. “The way to overcome that is knowing how to focus stack, which means shooting the exact same frame, but moving the plane of focus through your scene, so that you’re moving that slice of sharpness from front to back or back to front,” says Zizka. “You capture three or five or 10 images, and then you combine the sharpness from all those different slices in post to get an image that is tack sharp from foreground to background.”
It’s hard for light to find its way into every part of your composition. One editing choice you could make is lifting the shadows to highlight elements that are in particularly dark parts of an image.
Zizka find nighttime images can come off too warm, and he likes to cool them down. “Sometimes they lack the wow factor when they’re shot in RAW, and usually they’ll benefit from a boost in contrast, clarity, and a bit of dehaze in post.” People are often surprised that their long exposure shots look like daytime photos, usually the result of generous ambient moonlight. “They’re supposed to come out of the camera looking that way, but by lowering the blacks or increasing the contrast in post, you can give them a nice nighttime feel again.”
There’s no shortage of photo editing software on the market. What you choose to use will depend on any number of factors, including the software’s features, user interface, and cost. “I use the photographer’s bundle that Adobe puts together,” says Zizka. “It’s sort of a one-stop shop, and it allows you to improve your images dramatically without having to invest in a bunch of different software and plug-ins.”
Astrophotography is a type of photography where it can take a long time to get a good image. It’s easy to get discouraged when capturing one or two keepers is considered a good night. The key is sticking with it, committing the time to learn and become better. “Everyone will go through a period of frustration when they start out,” says Zizka, “but if you can push beyond that and give things time to become second nature, it’s such a rewarding type of photography. It can add a lot of value just to your life in general. Whether or not the photos work out, it’s an amazing thing to be able to get under the stars regularly.”
Level up your skills: our various how-to guides cover everything from beginner tricks to creativity and composition.
Photos: Stock